
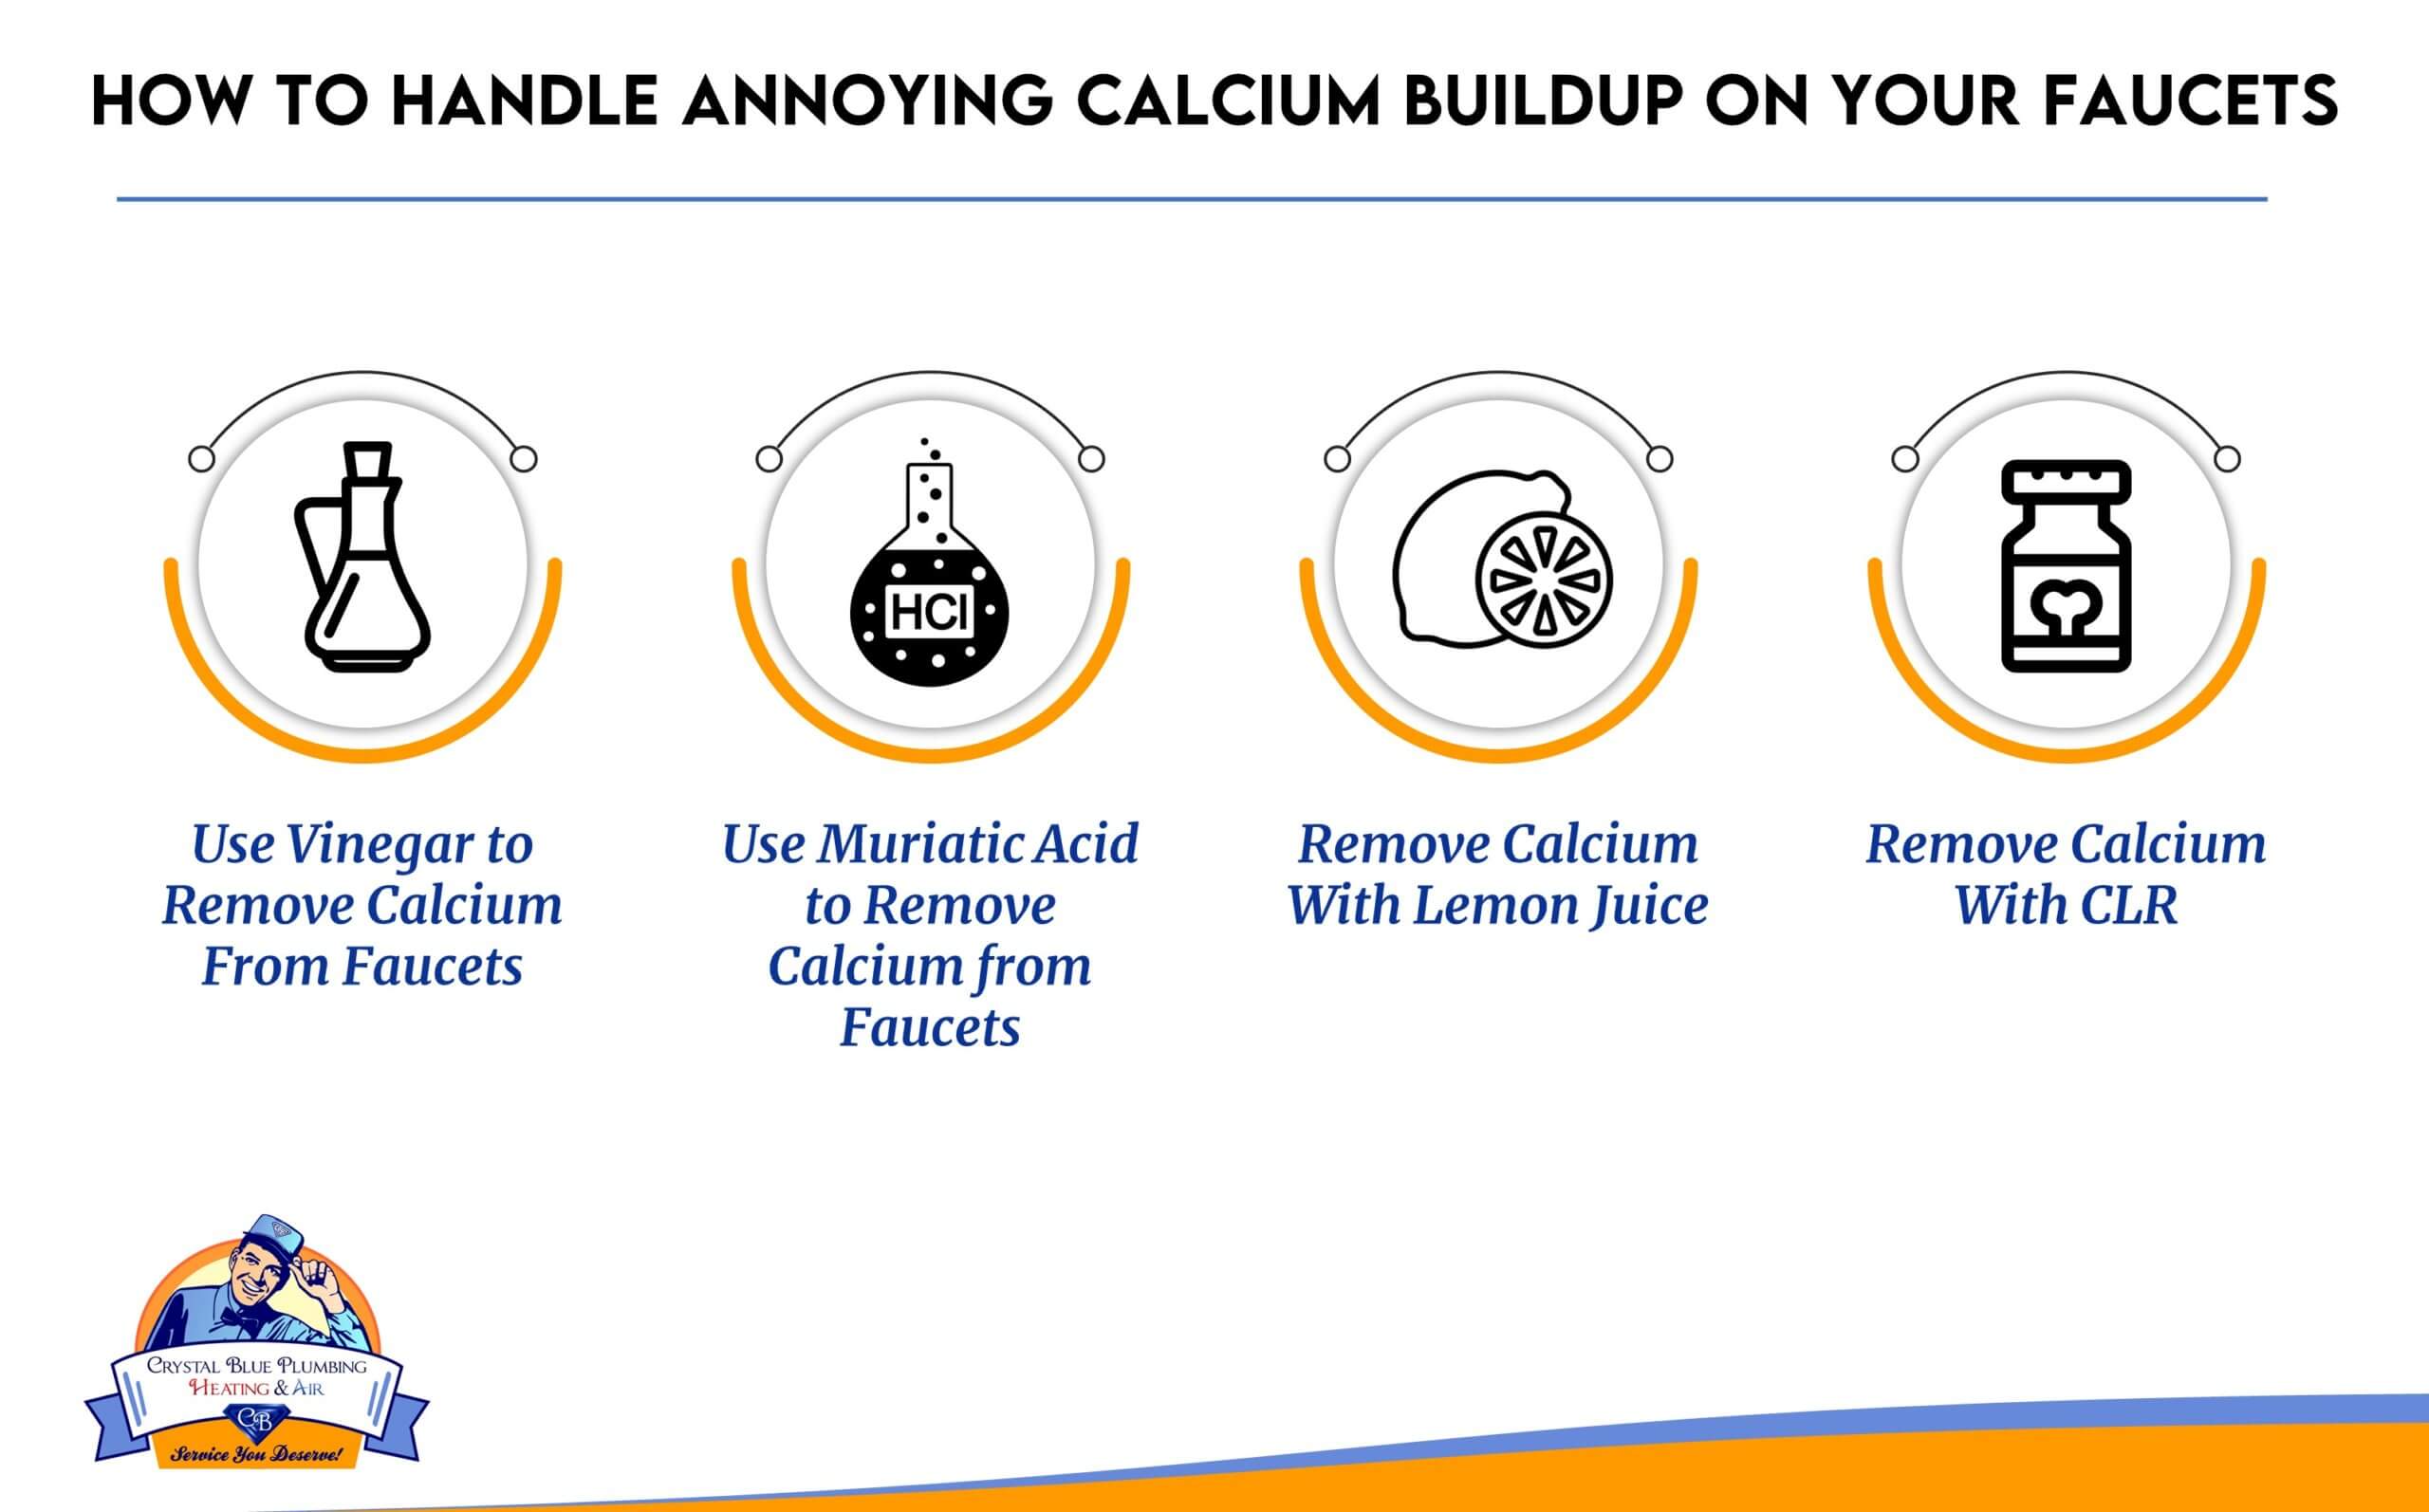
How to Handle Annoying Calcium Buildup on Your Faucets
Have your faucets gone from having a shiny metallic look to now looking cloudy? If so, you likely want to get them back to the way they appeared when they were first installed.
The dirty look is likely the result of calcium buildup from your tap water. Calcium buildup happens in areas with hard water. With time, minerals collect on your appliances and cause issues with your kitchen plumbing. The experts at Crystal Blue Plumbing, Heating & Air explain why calcium buildup occurs and make some suggestions on how to clean it.
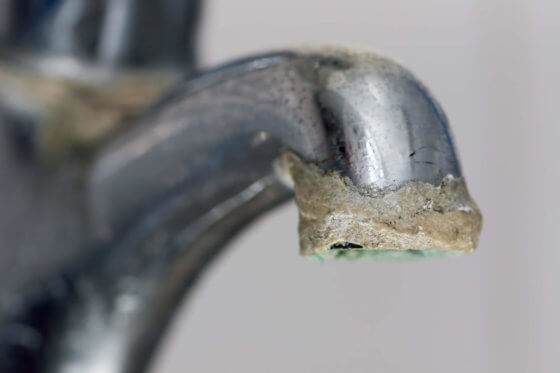
What Is Calcium Buildup on Your Faucets?
Calcium buildup is also called limescale. This happens because water that contains dissolved calcium salt is flowing through your showerheads and faucets. This is why you have that white crusty-looking buildup that is all but impossible to clean away.
If your water supply has high levels of calcium, minerals, and salt, you have hard water. In some areas, hard water also has a high level of iron. This makes the buildup take on a rusty or yellow appearance. You may even see stains in your sink or bathtub.
In addition to being unsightly, hard water can cost you thousands of dollars each year in the form of repairs and replacements. Calcium adheres itself to your home’s plumbing system. It creates clogs that damage your appliances.
One of the major appliances that can be damaged by calcium buildup is your water heater. If there is significant calcium buildup, instead of your water heater lasting for up to 12 years, it may only last between six or seven years. Calcium buildup is a problem. The following are some easy solutions you can use to remove calcium buildup today.
Use Vinegar to Remove Calcium From Faucets
Your faucet or showerhead has gone from a geyser to a trickle. You don’t want to remove your showerhead or find a way to detach your faucet. Thankfully, there is an easy way to get rid of surface minerals that requires nothing more than some vinegar, a plastic bag, and a rubber band.
Step 1: Pour white distilled vinegar into a plastic bag. Take a rubber band and slip the rubber band on your showerhead or around your faucet. You might want to wrap it around twice so that it sits tight against the water pipe or faucet. Attach the bag to the showerhead by gently slipping the bag’s edge underneath the rubber band.
Step 2: Leave the bag in place overnight. In the morning, remove the bag. Turn on the water to flush out any residue. Use a soft cloth to polish your faucet or showerhead.
You may wonder why vinegar works so well against calcium deposits. It is because calcium deposits, like limescale, are made from calcium carbonate. The acid in vinegar attacks the calcium carbonate, breaking it down.
If you don’t want to risk making a mess with a bag of vinegar, another option is to take a towel and soak it in a vinegar solution. Wrap the towel around your faucet or showerhead. Leave it overnight. Remove it in the morning and rinse with plain water.
Use Muriatic Acid to Remove Calcium from Faucets
Few cleaners work as well as muriatic acid for treating calcium buildups. That being said, it is not a product to be treated lightly.
Muriatic acid is a diluted form of hydrochloric acid, making it one of the most corrosive cleaners on the market. If you are not careful, you will quickly damage your eyes, skin, and any unprotected painted surfaces.
However, if you follow the safety precautions, you will see that muriatic acid is a powerful cleaning agent for getting rid of calcium buildup. Make sure that you are wearing protective gloves and goggles. You want to work in a ventilated space. If that is not possible, use a respirator.
When mixing muriatic acid with water, make sure that you always pour the acid into the water. If you pour water into the acid, you create a reaction that could cause acid to splatter all over you. In a similar vein, never pour acid into an empty container.
Once you are finished cleaning the calcium buildup, dispose of the cleaning solution by pouring it into a large container of clean water. The goal is to dilute it to a ratio of 50:1. You can safely pour the diluted acid down the drain.
Remove Calcium With Lemon Juice
In the same way that the acids in vinegar attack the calcium carbonate in calcium buildup, so do the acids in lemon. This is another natural yet effective solution.
To start, cut a fresh lemon in half. Use your thumbs or some other device to open up the center of the lemon. Push the lemon onto the edge of the faucet. Wrap a small plastic bag around the lemon and use a rubber band to secure the faucet. Leave the lemon in place overnight, allowing the citric acid to do the heavy lifting.
After removing the lemon in the morning, get a gentle scrubbing pad to clear up any hard water buildup. Use a damp cloth to clean up any leftover lemon juice. Your faucet should be sparkly clean. Best yet, you didn’t have to rely on harsh chemicals.
Keep your system running smoothly year-round! Join our maintenance program today for exclusive benefits and peace of mind.
Remove Calcium With CLR
CLR is an immensely popular calcium and lime remover. CLR is an abbreviation for calcium, lime, and rust. The product’s tagline proudly announces that it dissolves lime, blasts calcium, and zaps rust stains.
CLR can quickly remove calcium buildup on your showerheads, faucets, and other appliances. It is a safe alternative to other traditional calcium removal chemicals. CLR is phosphate-free and septic safe. Although it is a chemical, it is also part of the EPA’s Safer Choice Program.
To use a CLR in a well-ventilated area, combine equal parts of warm water and CLR. You can apply CLR directly to your faucet or showerhead. Find an area to test the CLR before you apply it to an entire surface.
Never leave CLR on an area for more than two minutes. The product should never be mixed with bleach or household cleaners. Be careful to avoid contact with the carpet, natural stones, galvanized metals, or painted surfaces. Also, you should clean spills immediately.
An Ounce of Prevention Is Better Than a Pound of Cure
If you are in an area with hard water, you are going to get calcium buildup. By installing a water softener, the water that comes out of your faucets will be soft. This means that magnesium and calcium will be removed from the water before entering your plumbing network.
Are you dealing with hard water and frustrating calcium buildup? Our technicians at Crystal Blue Plumbing Heating and Air want to offer our assistance. We are a certified HVAC and plumbing service contractor operating in the Sacramento, California, area. Since 1981, our team has been helping homeowners and business owners improve their plumbing and HVAC systems.
Some of the services we offer include indoor air quality service, humidification, plumbing, and heating services. We invite you to see for yourself why we are the best at what we do. Contact us today. Our technicians look forward to working with you.
Don’t miss out on great savings! Check out our specials and get a fantastic deal on your next service.